Building a Beefy VR Workstation
7 minutes read · 2017-02-06Introduction
There are plenty of inexpensive ways to experience mobile VR, including the really cheap Google Cardboard that works with any average-sized, reasonably recent smartphone. However, when it comes to the most engaging, immersive experiences, the horsepower available on mobile platforms is, as of early 2017, simply not enough.
Having decided that I'd like to get serious about VR development, I set out to spec out and build a beefy VR workstation.
VR Workstation?
For the purposes of this article, I'll define a “VR workstation” as a high-end gaming PC, that's also well suited for software development.
The requirements for VR and gaming are very similar, though VR benefits more dramatically from higher resolution and lower output latency, whereas games have historically focused more on scene complexity, realistic materials and effects.
Being cost effective was one of the goals of this build. However, the computer is meant to be used professionally, so I targetted a higher price range/quality than I would for a hobby-only rig.
Picking a CPU: i5 or i7?
Most modern games are not CPU bound, so the key component that defines gaming performance is the graphics card, with RAM and CPU being somewhat distant seconds.
If your intent is to simply consume VR content, a 6th generation or newer Core i5 should be more than enough. However, if your intent is to write software, the extra cores on the i7 can dramatically cut compilation times—which is why I decided to get the i7.
Graphics Card
Performance-wise, NVIDIA's new Pascal architecture on the GeForce GTX 10 Series is absolutely insane, particularly for VR. I considered buying a less expensive GeForce GTX 1070 and saving the money to buy a second graphics card later, but ended up opting for a single 1080
As it turns out, the Vulkan API—which I'm interested in the most—doesn't currently support support SLI, and all multi-GPU processing needs to basically be managed manually. By the time I'd be ready to buy the second graphics card—and when/if the standard gets updated to support SLI/Crossfire—the 11 Series will be already out, and it will be time to upgrade my GPU anyway.
As for the maker, I decided to go with EVGA based on a friend's recommendation, but it seems to be a matter of personal preference, mostly.

RAM
For RAM, you probably want to go with DDR4 from a well known manufacturer. Quad channel is a good idea, but keep in mind it will only work if you buy all four identical sticks in a bundle.
16GB should be enough, but if you're feeling particularly fancy you can go for 32GB or even 64GB. (I ended up going for 32GB 😎)
If you'd like to overclock the computer, make sure the RAM can go to a higher clock rate (like 3333Mhz), however keep in mind that the Motherboard needs to support the frequency as well.
Motherboard
I've generally had pretty good experiences with ASUS Motherboards in the past, so I ended up opting for the Z170-A.
It's an ATX form factor (I don't like the crammed mini-ATX cases), supports all the features I needed and has decent build quality. It has lots of ports in the back—including USB-C, which I'm very excited about. The UEFI tool is pretty good too, with easy to use overclock and fan settings.
Storage
Short story: Get an SSD.
Long story: Seriously. get. an. SSD. Most of the performance complaints people have with computers are immediately fixed with an SSD. It's probably the easiest, lowest hanging fruit to make pretty much any computer feel “fast”. (Apple has figured that out a long, long time ago, shipping fast SSDs along with somewhat mediocre hardware.) You'd be surprised how many people have otherwise decent computers that are borderline unusable for not having an SSD.
Since they usually come in smaller capacities, you can get a smaller SSD to put your system, applications and working files, and a larger HDD for storing photos, videos and content from Steam.
Not pictured: the accompanying Seagate 1TB 7200RPM ST1000DM003 HDD
There are fancier SSDs that will plug on to the M.2 connector, but they're significantly more expensive and provide diminishing returns for general purpose computing. I got a regular SATA SSD.
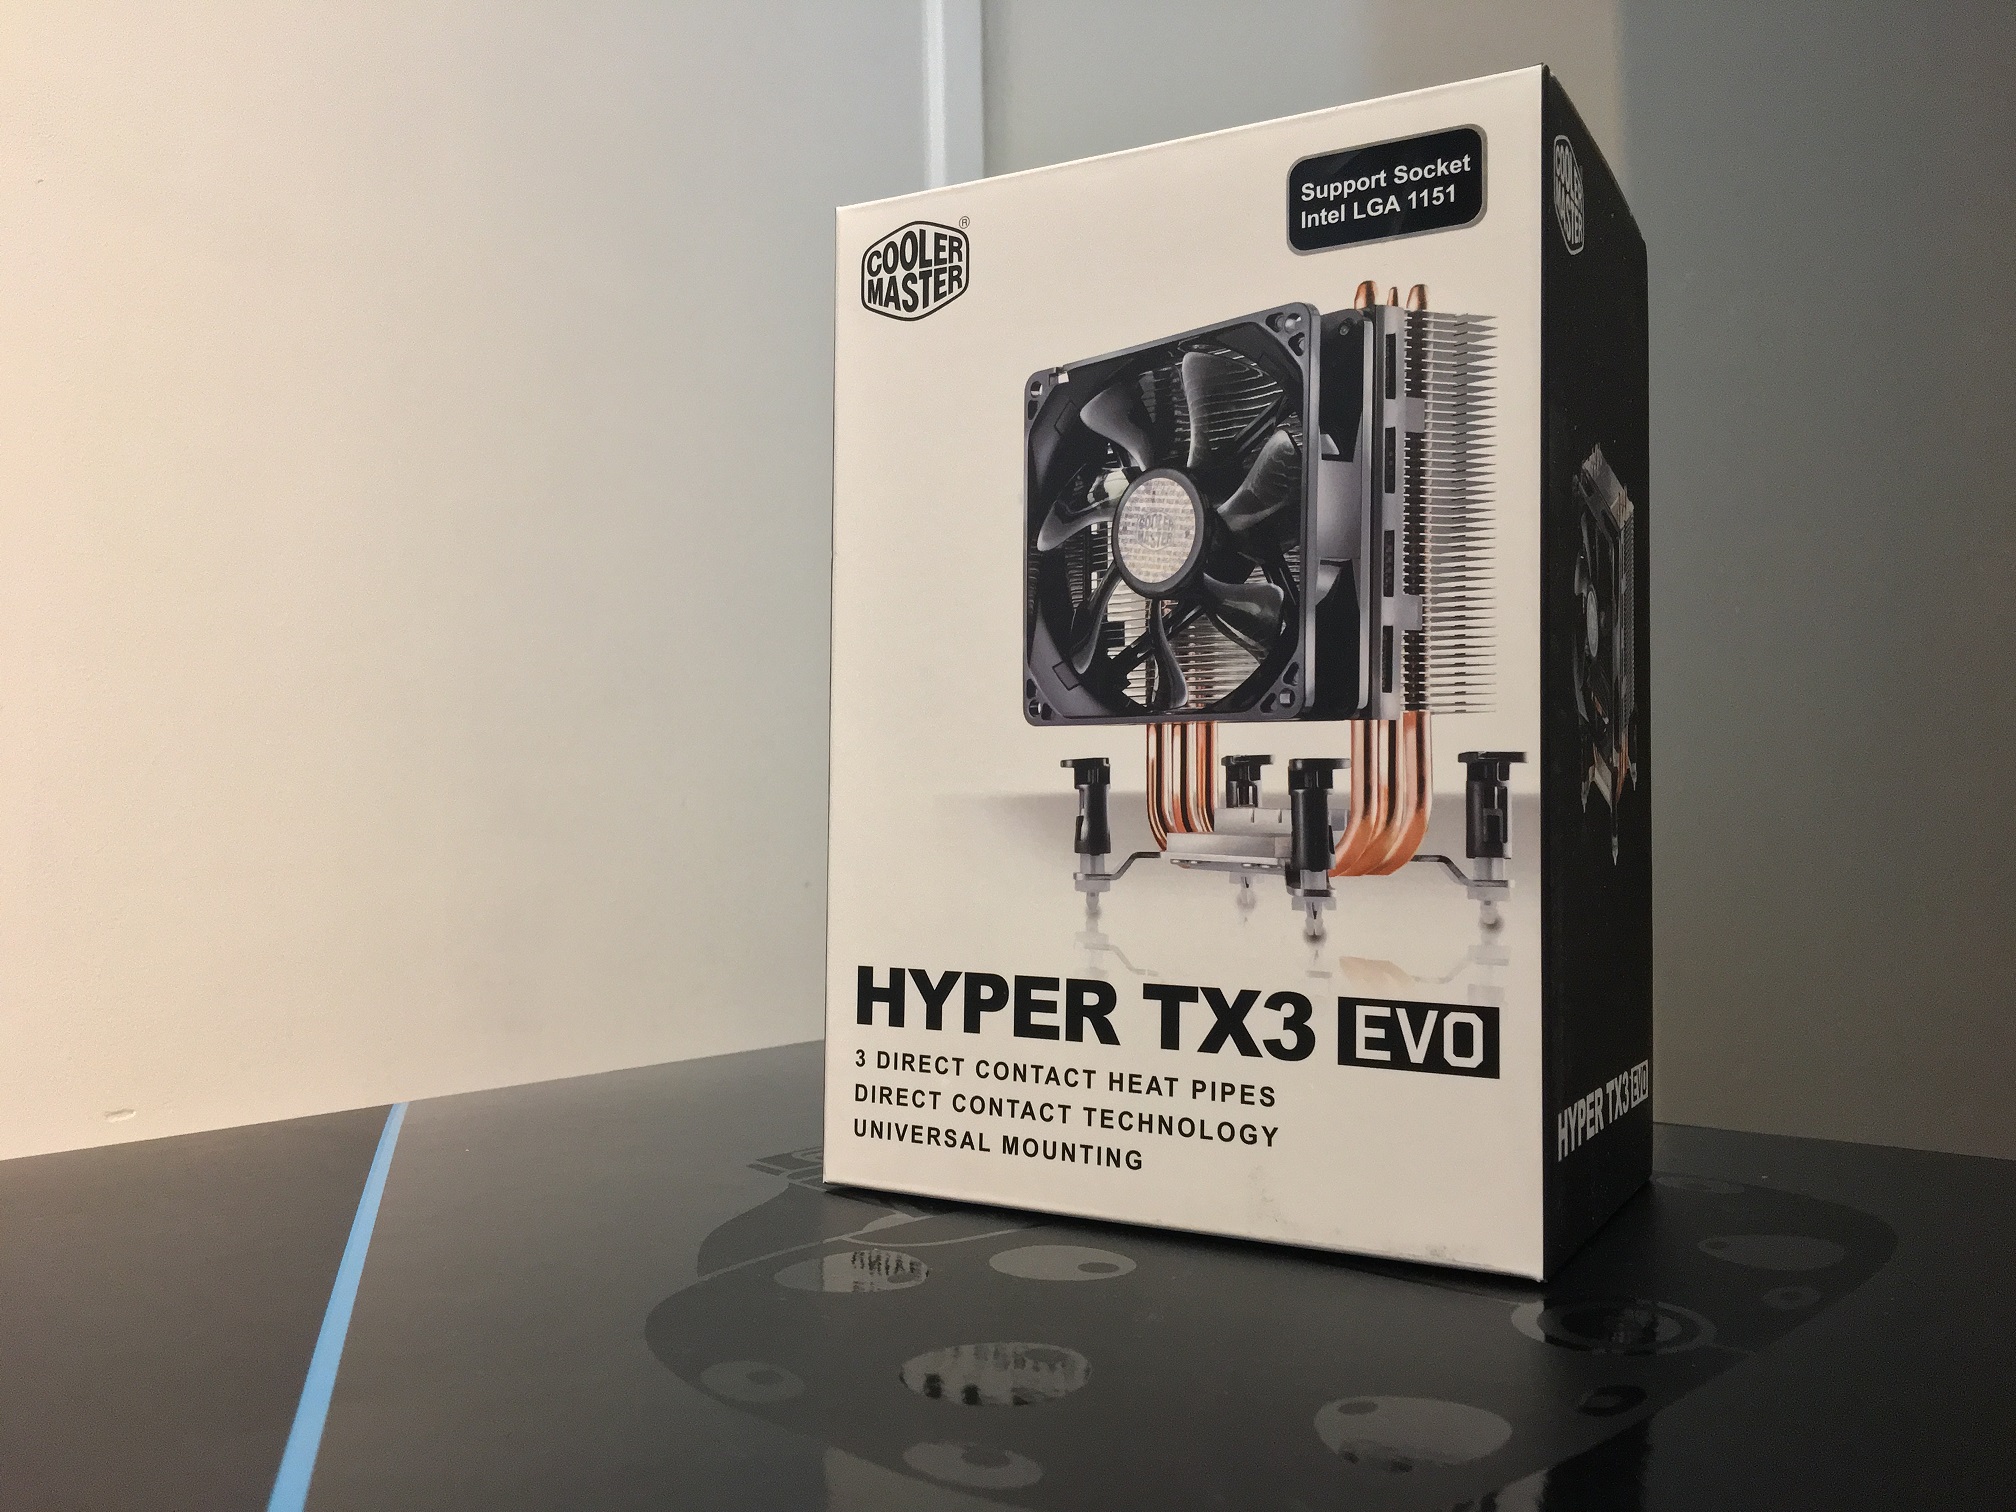
Cooling
My choice of a tower cooler was probably my biggest regret with this build. I avoided liquid cooling since it seemed overkill, and from the research I did online, a tower cooler was supposed to be enough to handle moderate CPU overclocking. That did not turn out to be the case.
I also had a negative perception of liquid cooling, probably from seeing several makeshift liquid cooling setups in the early 2000s. The situation is way better now, with major cooler manufacturers all providing a ready-made liquid cooling solution that's fool proof.
I'll probably upgrade to one of those solutions very soon.
Power Supply
I bought a 750W power supply unit from Corsair, which in hindsight might have been overkill. I believe the same system can probably run on a 500W power supply with no issues—However it may come in handy if I ever get that Series 11 Dual GPU setup in the future.
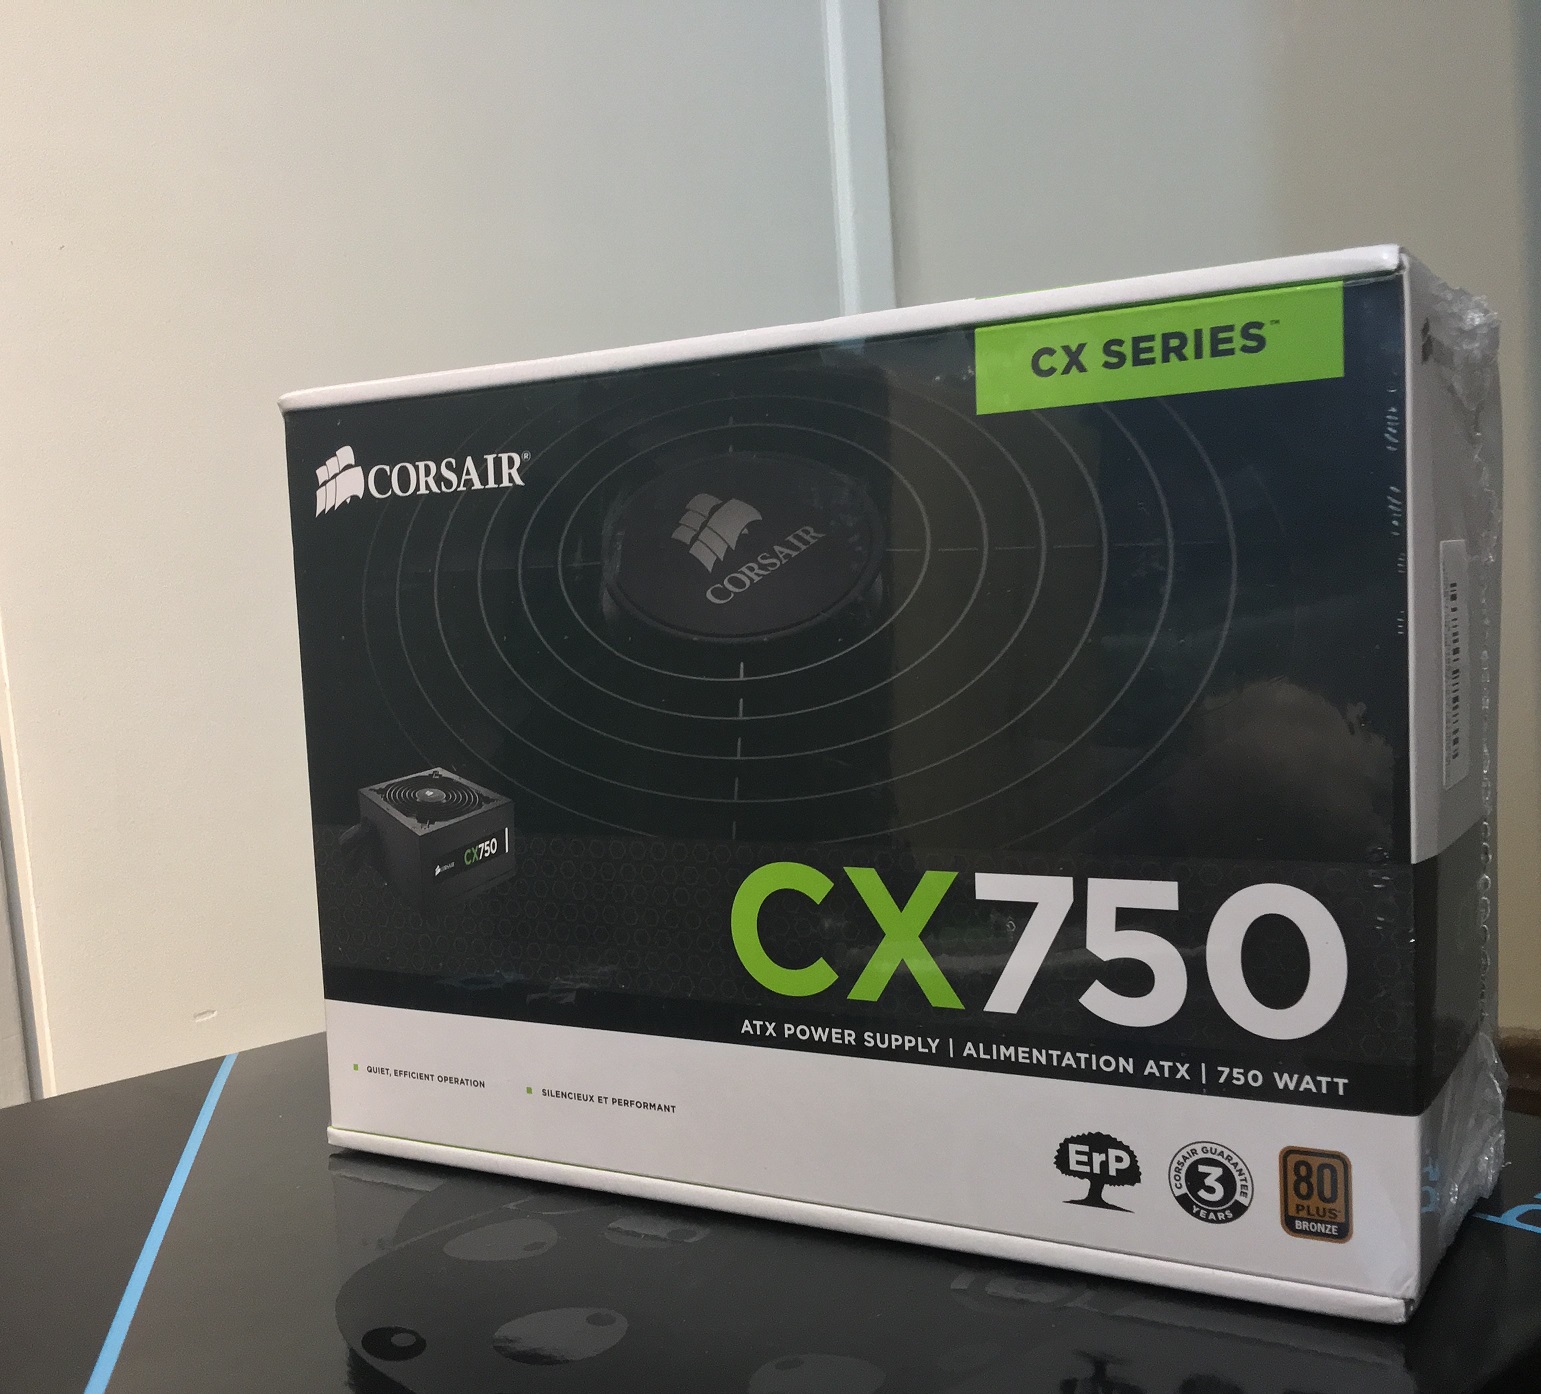
The reviews for this PSU were generally favorable, and I have no complaints so far.
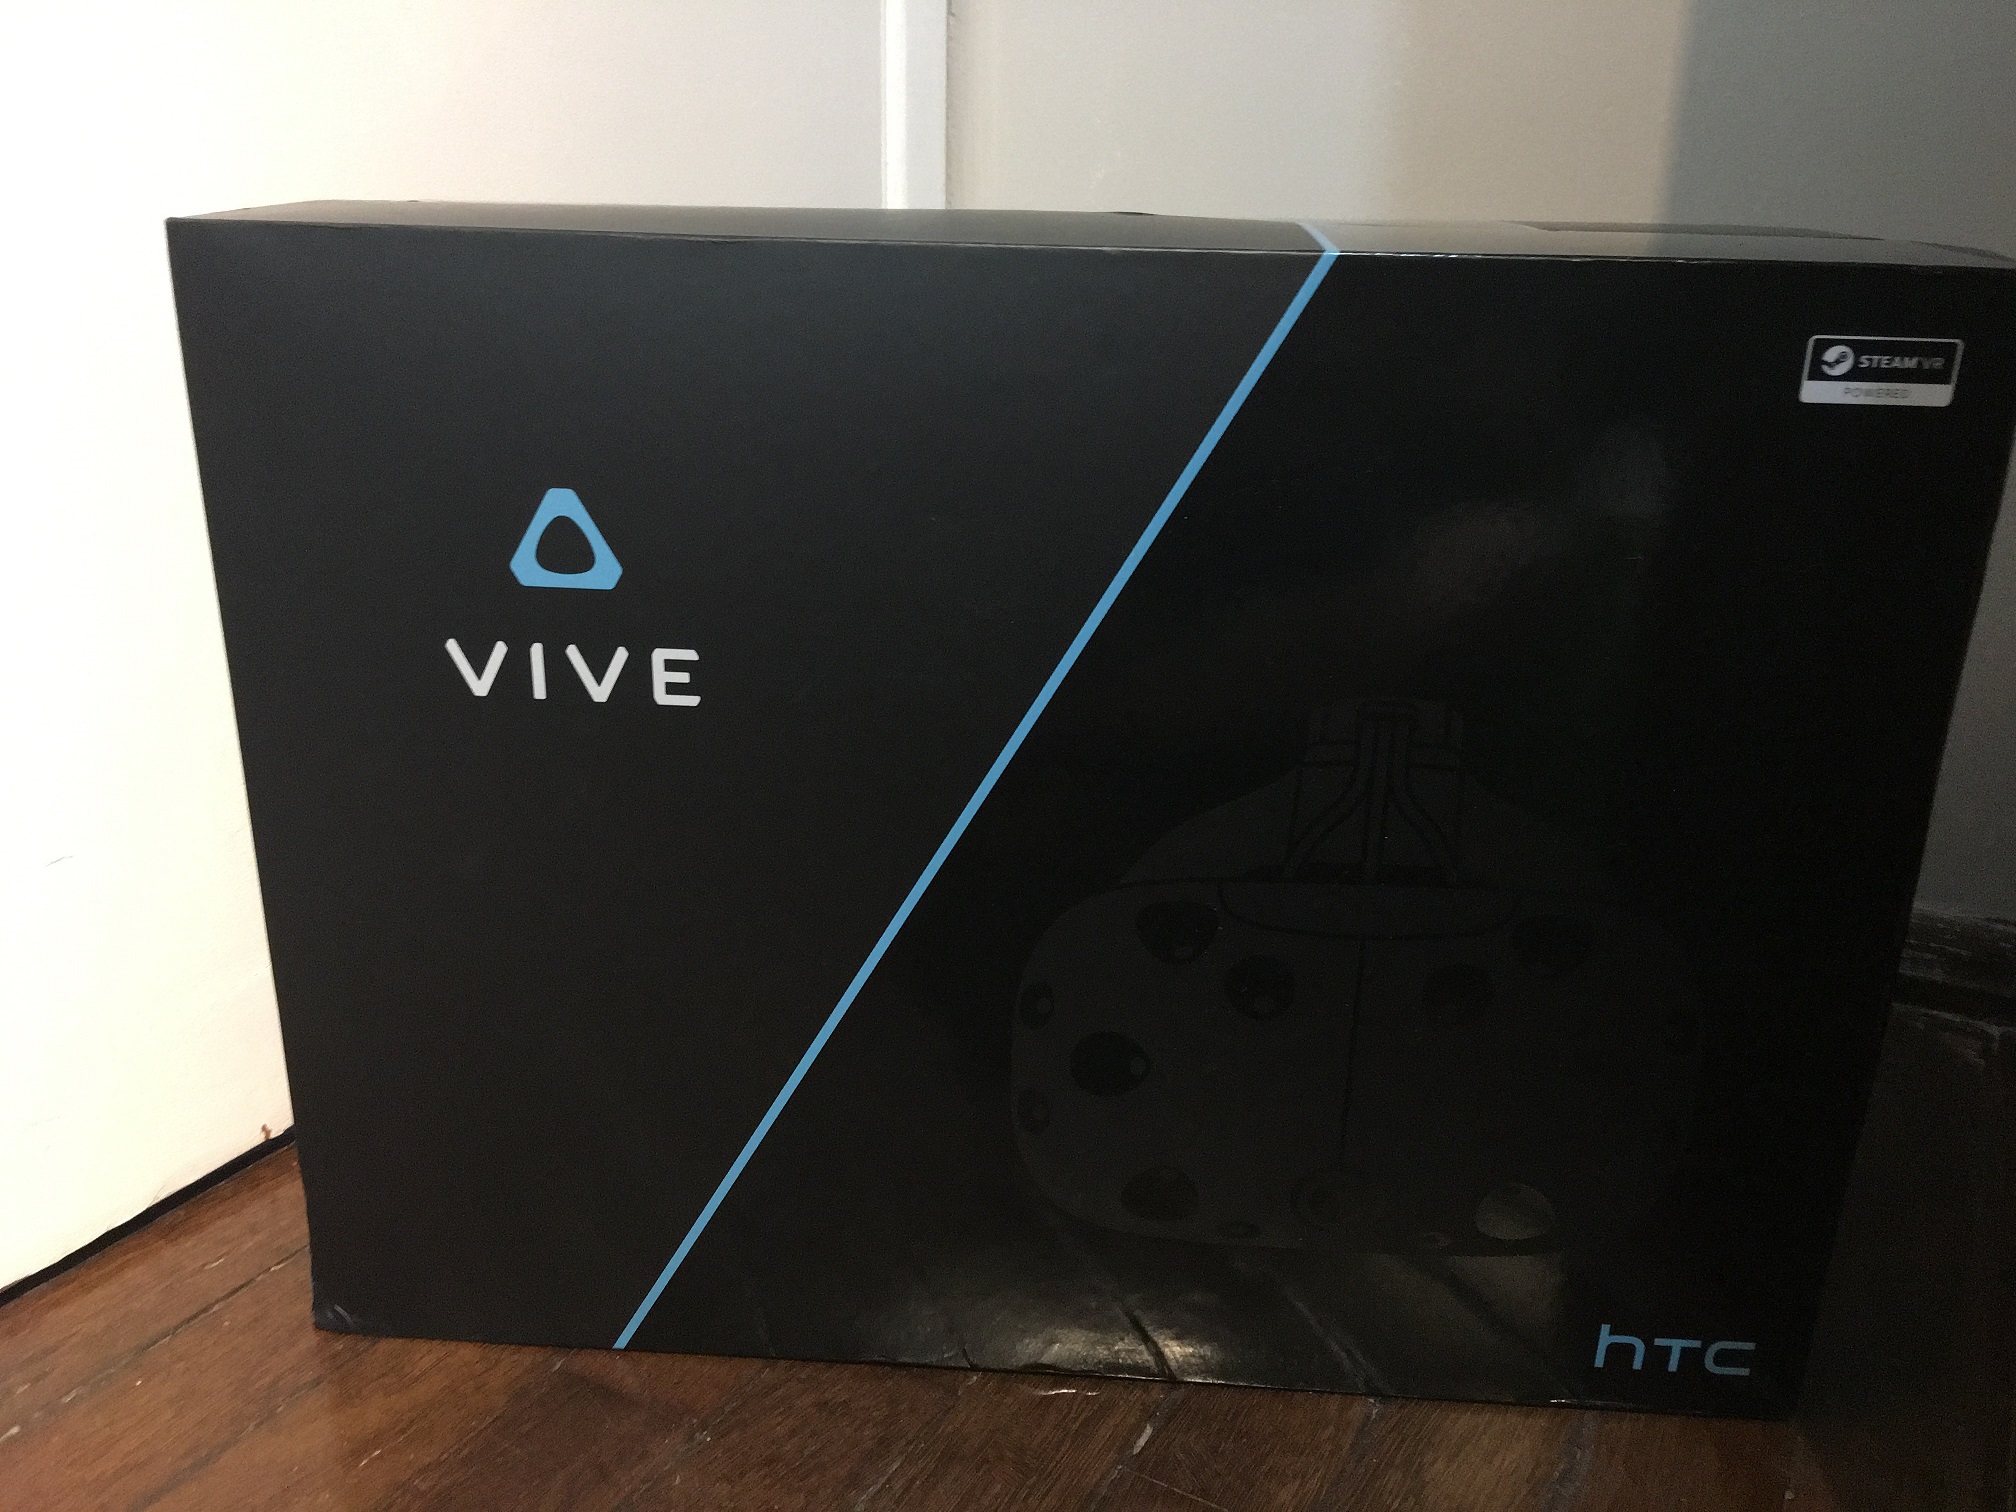
VR Headset
Obviously no VR Workstation is complete without an actual VR Headset. The big options here are the Oculus Rift and the HTC Vive. (This will probably change soon with Microsoft pushing for VR/AR support. Several manufacturers seem to be on board with the “Windows Holographic” project.)
Both the Vive and the Rift have distinct advantages. I ended up picking the Vive because it supports Room-Scale tracking, and is sponsored by Valve, which has a much better track record of developer friendliness than Facebook.
Full Specs
- Core i7 6700K Unlocked — $337.97
- EVGA GeForce GTX 1080 SuperClocked — $599.00
- ASUS Z170-A — $144.99
- DDR4 G.skill Trident Z 32GB 3333Mhz (4 × 8gb) — $253.24
- SanDisk SSD Plus 240GB SATA 3.0 - SDSSDA-240G-G26 — $74.99
- Seagate 1TB 7200RPM ST1000DM003 HDD — $56.95
- CoolerMaster Hyper TX3 EVO — $32.49
- Corsair CX750 — $69.99
- Case: DeepCool Dukase V2 — $76.75
- TP-Link AC 1900 Archer T9e - PCIe Dual Band Wireless Adapter — $76.50
- Lite On DVD/Blu-Ray Recorder- IHBS112-29 — $68.95
- HTC Vive — $799
Total price: $2590.85
-MB